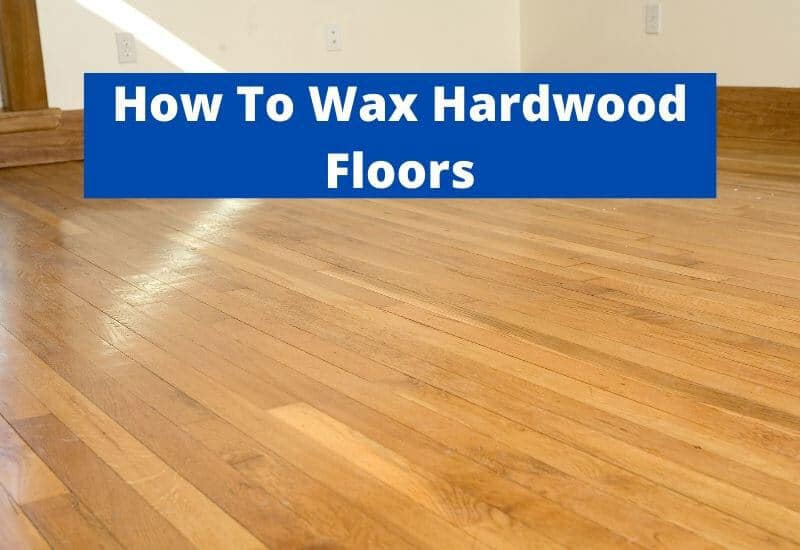
How to Wax Hardwood Floors: Step by Step Guide
If you are looking for a step-by-step guide on how to wax hardwood floors, then you have come to the right place!
Hardwood floors are a beautiful addition to any home, and they hold up well under daily use. However, to last a long time, proper care is necessary. Part of caring for your hardwood floor is regular waxing, especially in the areas of your home with higher traffic.
Waxing is not just important for a shine or a glossy finish. Waxing serves to seal and protect the surface of hardwood floors, creating a hardened layer that protects hardwood in various ways. Therefore, if you want to protect your hardwood floors, follow this step-by-step guide.
Determine Whether the Floors Should Be Waxed
Not all floors require waxing. Some floors need a good vacuuming every now and then and that’s it!
In fact, there are certain floors that can be damaged by waxing. The rule is to never use wax on floors finished with polyurethane because it interferes with re-coating. So in order to ensure that you won’t damage your flooring, you should consider hiring a professional commercial cleaner near you for floor waxing.
Pro Tip: Read Floor Cleaning article to see the difference between hardwood floor and simple floor.

Waxing should be reserved for floors that have been treated with things such as:
On these floors, it bolsters the protective qualities. Additionally, unfinished floors can be waxed. Just be sure that the floors you wax are in good condition. If they are not, repair them before waxing.
Choose a Wax
Hardwood floors require wax with certain properties. First off, when choosing a wax for hardwood floors, ensure you are using a solid paste or liquid wax. The difference between these two is the amount of solvent, which affects how they are applied to the floors.
Solid paste wax has more solvent, meaning it is a thicker substance – hence the “paste.” Less solvent means it needs fewer coats, but it must be applied by hand, which can be troublesome. The alternative, liquid wax, is much thinner than the paste and can be applied with a mop. However, with a liquid solvent, there is a need for multiple coats.
Regardless of which type of wax you decide to use, ensure that it is meant for use on floors or risk slippery floors. In addition, solvent-based waxes are better, and it is important that any wax used is buffable. Waxes that skip the buffing step are prone to becoming dirty.
Prepare the Surface
The first step to ensuring your floors are ready for waxing is removing any obstacles that might get in the way. Waxing requires multiple steps and needs time to dry, so clearing the space is necessary. Therefore, removing any furniture or rugs is an important part of the process.
Once the floors are cleared, you must strip any old wax. Stripping the wax can be done using mineral spirits, though there are also commercial wax strippers. The best rule of thumb for this is to strip small sections bit by bit and to use steel wool on trouble spots.
The next step is to clean away any dust or dirt, using a dry mop or a vacuum with the relevant attachments. For floors that need more done to them, you can take it a step further:
- Start by using a hardwood floor cleaner
- Then mop with water to remove any remaining cleaner
- Finally, quickly dry the floor with a towel
Once the floors are cleared of wax and properly dried, you can proceed to apply the wax.
Apply the Wax
First and foremost, know what you are working with and take the proper safety precautions, such as gloves and a mask. The rest depends on the type of wax you are using.
If you are using solid paste wax, then you will need to get close to the ground. The best way to go about it is on your knees since you will need proper leverage to properly apply the wax. If you are using liquid wax, you can remain standing, which might also be a deciding factor in which wax you use.
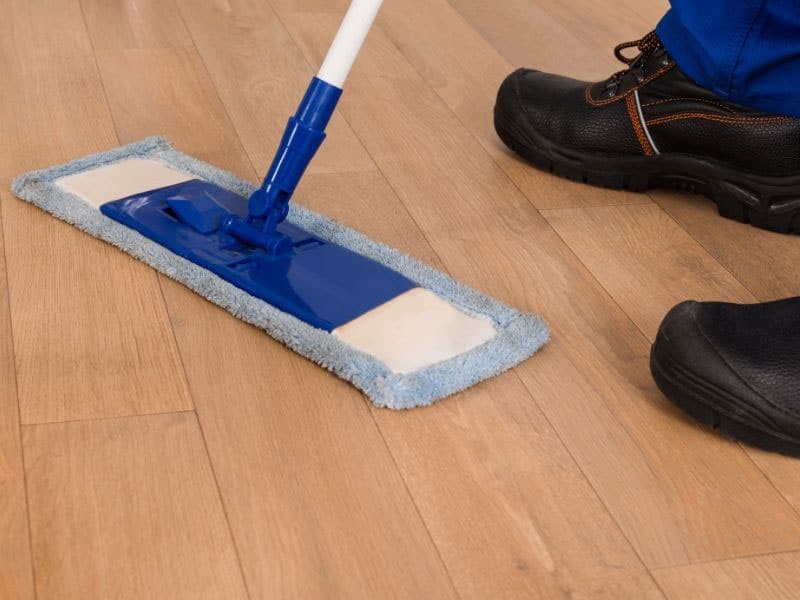
For the solid paste wax, you will use a lint-free cloth, to which you will apply the wax. For the liquid wax, you can use a mop. However, with the liquid wax, you do not need to apply it to the mop directly. Instead, you can apply liquid wax to the floor and then dip the mop in it.
When applying wax to a hardwood floor, remember these things:
- Spread the wax in a thin layer
- Work on small sections of the floor at a time (a few feet)
- Start applying at a corner and move towards an exit
After you have applied the first coat, let it dry anywhere from ten minutes to an hour. Apply any additional coats of wax after the first has dried. When the final coat is hazy, it is time to buff.
Buff the Floor
Buffing is an easy step, but it is vital for a properly waxed hardwood floor. Of course, you might have used a wax that does not require buffing, but the most effective waxes will require this step.
For this step, you will use a towel or a sponge mop, depending on what type of wax you used. Once you have what you need, follow the same pattern as before, covering small sections and starting from the corner. There is also the option of using an electric buffer or polisher.
After you have successfully buffed the floor, you will need to leave it be for a time. The basic time frame is eight hours, and only once that time has passed should you move furniture back into place.
Pro Tip: At Cleaning World Inc, combine related services as Cleanouts to maximize efficiency and resource utilization.
Conclusion
Waxing your floors doesn’t have to be a difficult process. All you have to do is determine whether it is necessary, choose a wax, and follow the relevant steps. You can certainly opt for floor cleaning instead. Many floors don’t need regular waxing so it’s important to understand that.
Companies such as Cleaning World in Northern NJ offer both floor cleaning and waxing. Choose them if you’re in the area! We know you’ll be happy.
Once it is applied and buffed, you can have perfectly waxed floors within eight to ten hours. All you have to do is follow this step-by-step guide to learn how to wax hardwood floors and have beautiful, freshly waxed floors.
Take a look at their location below:


